
Cal.com
Integrate Cal.com with your voice AI agent to schedule meetings during a call.
Cal.com integration allows your agent to access your calendar and schedule meetings on your behalf during a call, so clients can book a time without leaving the conversation.
Key benefits
- Automated meeting scheduling
- Calendar availability checking
- Streamlined appointment booking process
Setup option 1: from the main dashboard
Open the integrations page
Go to the Integrations page in your dashboard and select the All Integrations tab.
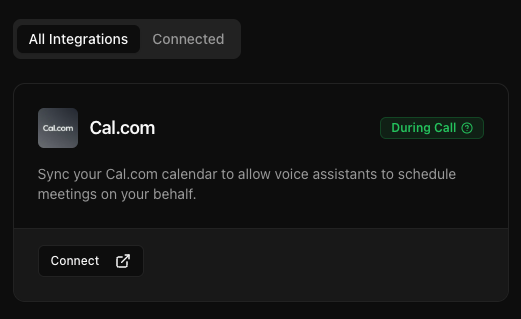
Connect Cal.com
Find the Cal.com card and click Connect, then configure your integration (see configuration details below).
Attach to your agent
Go to your agent's edit page, open the Integrations tab, and attach the integration from the dropdown.
Setup option 2: from agent configuration
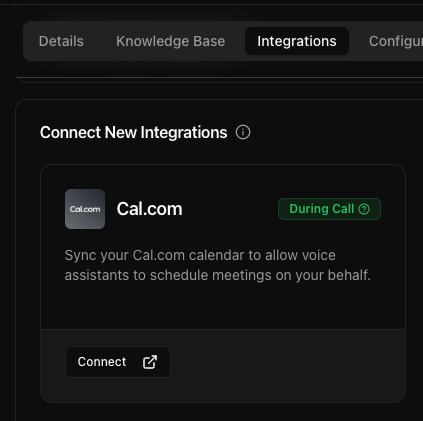
Open the agent's integrations tab
Go to your agent's edit page and select the Integrations tab.
Connect Cal.com
Under Connect New Integrations, find Cal.com and click Connect. Configure your integration. The integration will automatically attach to your agent.
Setup option 3: from the chat interface
Ask in chat
Use natural language like "Connect my Cal.com calendar" or "Set up Cal.com integration". A connection widget will automatically appear.
Add the integration
Click Add integration to navigate to the integration tab. Under Connect New Integrations, find Cal.com and click Connect. Configure your integration.
Configuration guide
Enter the following information in the modal during setup:
- Integration Name: choose a descriptive name (for example, "My Work Calendar")
- API Key: your Cal.com API key
- Event Type ID: the ID of the event type for scheduling
- Timezone: select your preferred timezone

Using with your agent
- Check your calendar availability
- Schedule meetings with clients
- Manage appointment bookings
Finding your Cal.com API key
- Log in to your Cal.com account
- Navigate to Settings → Developer → API Keys
- Create a new API key with appropriate permissions
- Copy the generated key
Finding your event type ID
- In Cal.com, go to Event Types
- Select the event type you want to use
- The ID is visible in the URL. For example,
https://app.cal.com/event-types/123456. The123456part is your event type ID.
![]()